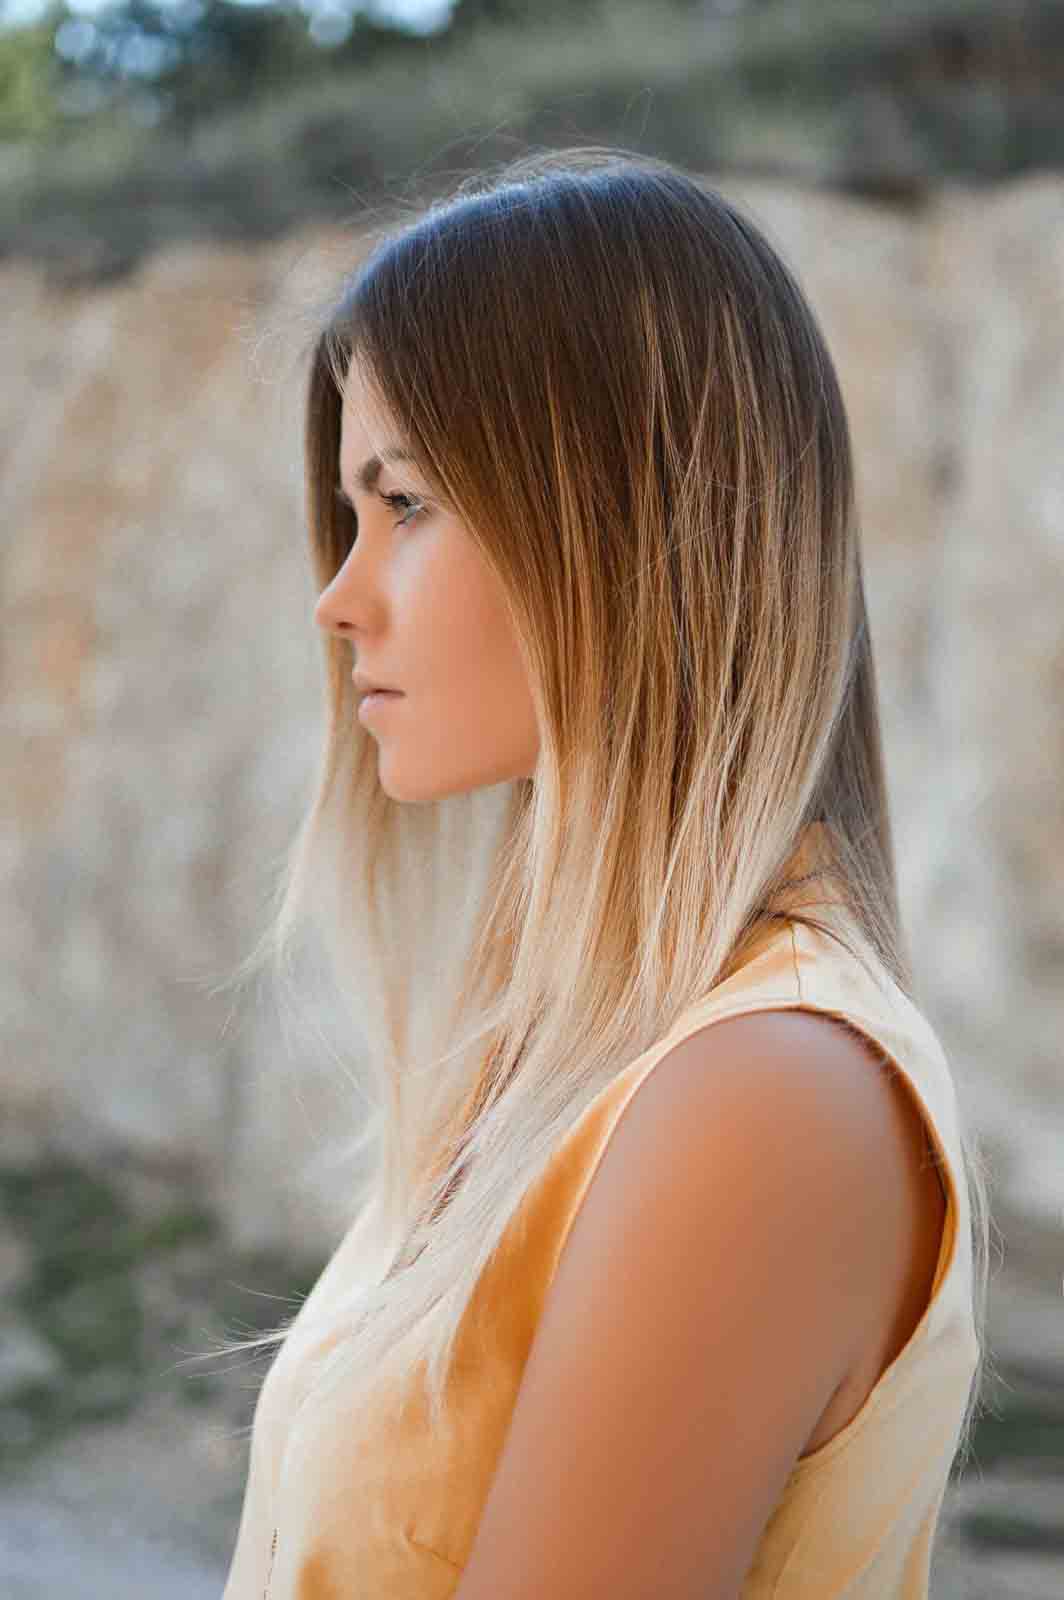
What is an Ombre Hair Style?
An ombre hair style is a color gradient that starts at a darker shade of one color and gradually lightens.
This can be achieved by either bleaching the ends of your hair or by adding lighter tones to it.
There are two main types of ombres — a subtle ombré, which has more subtle transitions between colors, and an extreme ombré, which has bolder transitions between colors.
The type of ombré you choose should depend on your desired look and personal preference.
DIY Tips for Achieving Perfect Ombré Hair
If you’re feeling brave enough to attempt an ombré hairstyle at home, there are a few tips you should consider first.
First, make sure you have all the necessary tools in place before starting out. This includes gloves, foils, clips, dye brushes, shampoo and conditioner specifically designed for colored hair, and bleach or toner if needed.
Second, don’t forget about the timing factor—it’s essential to get this right so that your ombre looks natural rather than artificial.
Finally, use good quality products!!! As a professional hair stylist, I can’t stress this enough! Cheap products may give you poor results and damage your beautiful locks in the long run!
How To: Ombre At Home
If you’re still brave enough to do this yourself, I’m brave enough to give you the directions.
It doesn’t hurt to have a backup plan with a professional stylist in case things don’t go as planned!
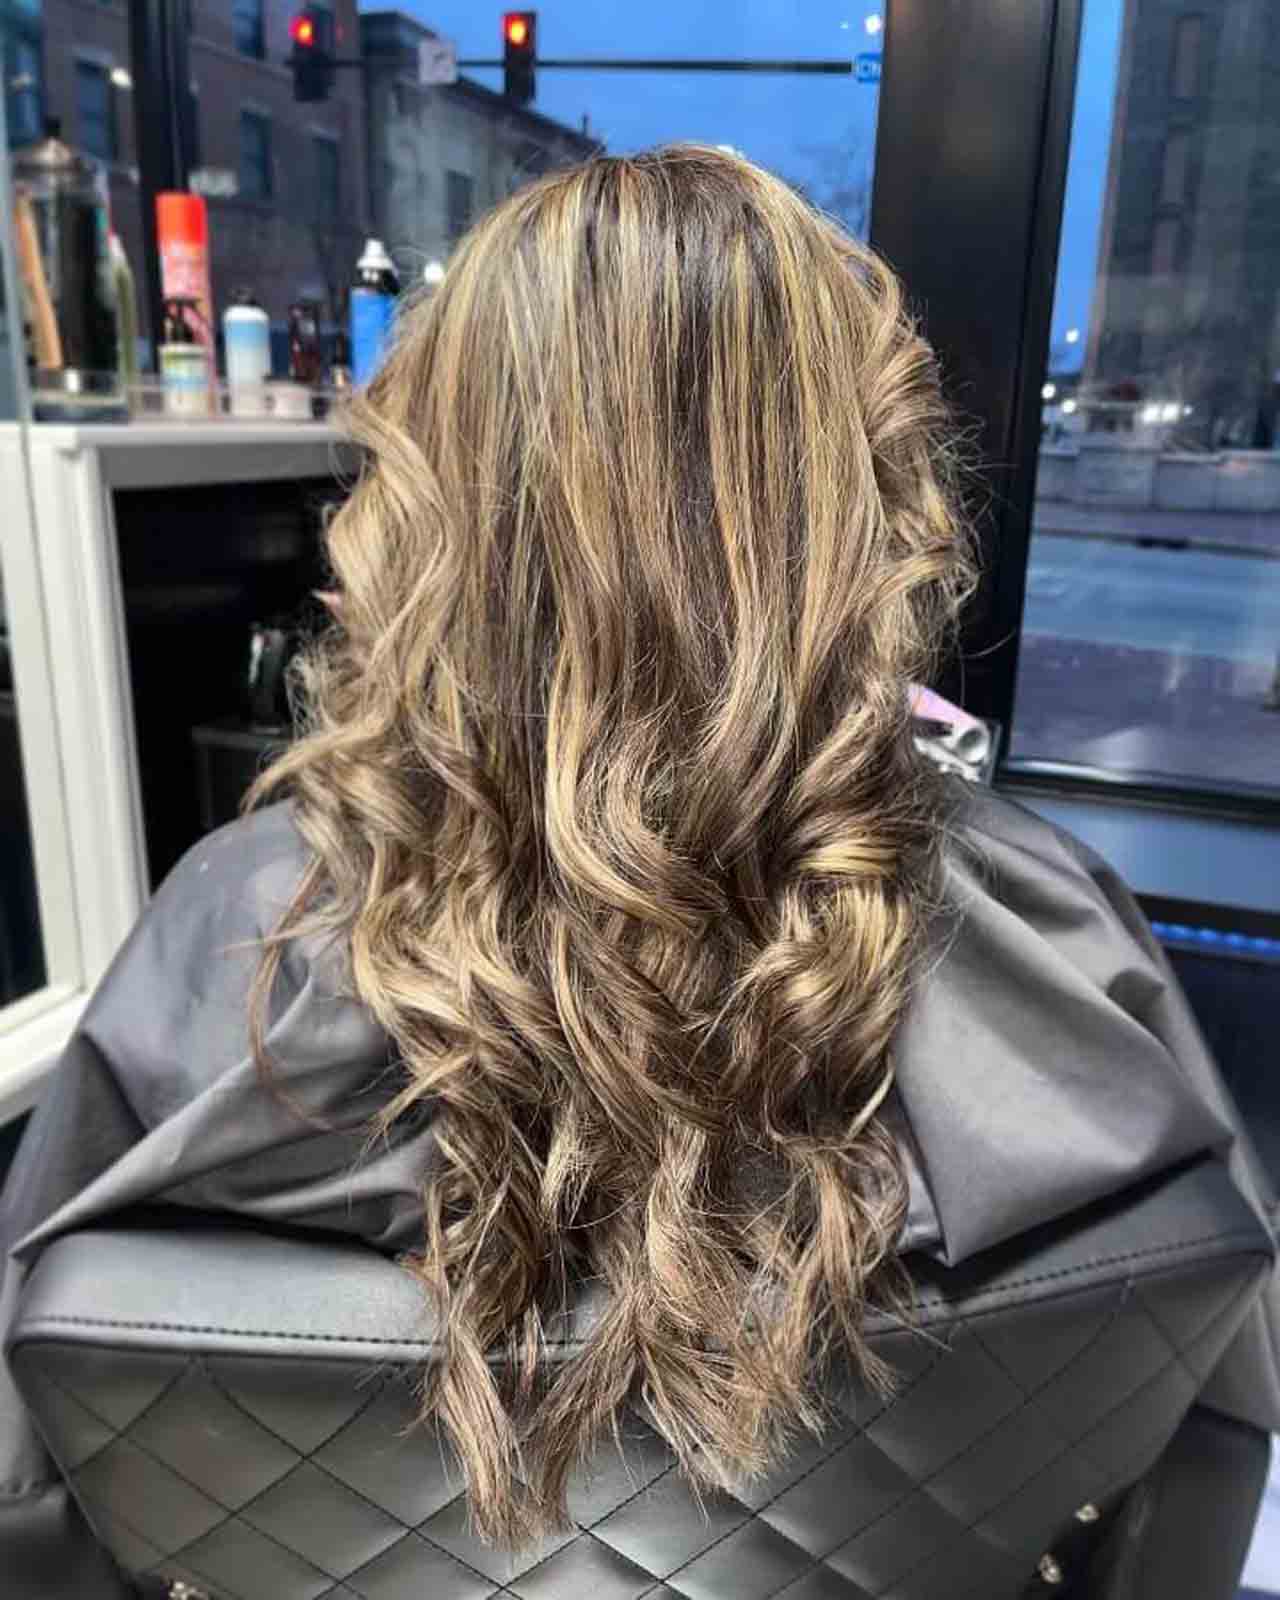
Step 1: Choose Your Color Palette
The first step in getting the perfect ombre style is choosing the right colors. You’ll want to choose two colors that complement each other, such as light brown and dark blonde or black and red.
You’ll also want to make sure that the colors are close enough together so that the transition from one color to another isn’t too abrupt or jarring.
Once you’ve chosen your two colors, you’re ready for Step 2!
Step 2: Prep Your Hair
Before you start dyeing your hair, you’ll want to take some steps to ensure that your hair is properly prepped for coloring.
This means using a clarifying shampoo to remove any excess oils or product buildup from your strands so that the dye will adhere better.
You should also use a deep conditioning treatment before coloring your hair as this will help protect it against damage caused by the chemicals in the dye.
Step 3: Apply The Dye
Once your hair is prepped and ready, it’s time to apply the dye! Start at the roots of your hair and work down towards the tips. Make sure you saturate each section with dye but don’t leave any clumps of dye behind—you want an even distribution throughout each strand of hair!
Once you’ve applied all of the dye, let it sit on your hair for 30 minutes before rinsing out with cool water.
Don't Over Do It
When it comes to actually coloring your hair at home, remember that less is more!
Start with a small section and work your way up until you get comfortable with the technique before tackling larger sections of hair. Also remember not to overdo it with heat styling after coloring as this can cause further damage to already-vulnerable strands.
Stylists Know Best
Just remember—do some research beforehand about what colors will work best for your skin tone and choose dyes that are gentle on your locks so that they stay soft and healthy-looking after coloring them.
That’s actually why I recommend finding a professional hair stylist! A professional stylist will be able to match your colors and choose dyes that match your tones.
Looking for a Hair Stylist in the Chicago suburbs?
Depending on my schedule, I’m taking on new clients! If not, I really love connecting people with their perfect hair stylist that can create the style they’re looking for.
Feel free to send me a message or book a service with me by clicking here.